At present i'm rendering which is taking the majority of my time up, i'll post some teasers up soon!!
Friday, 14 March 2014
Thursday, 6 March 2014
WIP RENDER
At this point the mountains have been added to get rid of the ugly horizon line that was present. In turn this lends realism to the scene and scale of the scene. This is by no means finished and the textures of the mountain will be altered.
Thursday, 27 February 2014
RHINO WALK
Here is a walk cycle of the rhino. Obviously I can experiment with how the head moves etc and there is still work to be done with animating the tail and ears. This aside the basics are there.
Tuesday, 25 February 2014
RHINO RUN CONTINUED
Here is a rendered out run cycle of the Rhino, his ears and Tail still need animating but for the most part i'm quite pleased with how it's going.With a further 10 days till animating is over.
REFERENCE VIDEOS
Rhino house has tons of animal referencing videos for animators to use in their animations and I certainly will be no exception. It may be an idea for me to get a months subscription for just $8!
Monday, 24 February 2014
RHINO GALLOP BLOCK
Today was spent blocking out a rhino Gallop at speed, the back legs are way too jerky however thus far.
EADWEARD MUYBRIDGE
Browsing in the library I remember that Eadweard Muybridge may be of some help to me as he specialized in animal movement photography. Having taken out his Animals In Motion book there are many breakdowns of horses runs and canters which distinctly match that of a Rhino. Not too disimilar is the walk and gait of a Buffalo and thus will provide suitable reference in which to block out my animation.
Wednesday, 19 February 2014
SCENE DETAIL
Having textured and added bump and depth to the trees the scene is now really taking shape! This is just a quick render of Work in progress. Next task is to texture and add depth to those pesky rocks in the background.
4 WEEKS 2 DAYS TO GO
Tuesday, 18 February 2014
ADDING DEEP WRINKLES
It was brought to my attention that the Rhino looked like he had the same bump depth all over and therefore unrealistic. Having taking this on board i'm now in the process of going through and editing textures and the bump map to give the Rhino much more depth with deeper wrinkles in places such as his face and neck.
Monday, 17 February 2014
FEEDBACK
Feedback from my peers was really helpful as sometimes you just need another opinion! This time everyone questioned said my rhino looked too clean and thus I need to edit my textures and rough him up a lot!
Thursday, 13 February 2014
FINSHED RIGGING
After two weeks of toil the rigging process for my rhino is finally finished! Having all the necessary controllers the final few days will be spent testing the rig and adding or subtracting weights where needed. After this I can begin to block out my 40-50 second animation.
LOOK HOW CLEAN MY OUTLINER IS!
LOOK HOW CLEAN MY OUTLINER IS!
Wednesday, 12 February 2014
RIG TEST#2
Nearly finished working on my rig. At present I have controllers for the Feet, shoulders, Hips, Knee pole vectors and neck. Left are the control set ups for the head, ears and tail. These should be completed by Friday. I'm currently on track as my allocated rigging weeks finishes on Valentines day. So instead of spending it with my girlfriend I shall be spending it romantically cleaning up the rhino rig. What a thought!.
Tuesday, 11 February 2014
RIGGING- CONTROL CURVES
Having Skinned and weighted the Rhino I am now in the process of creating IK handles and Controllers for the bones which will make it easier to animate. Seen above are the finished controllers for the Feet, Shoulders and also pole vectors for the knees.
Thursday, 6 February 2014
WEIGHT PAINTING
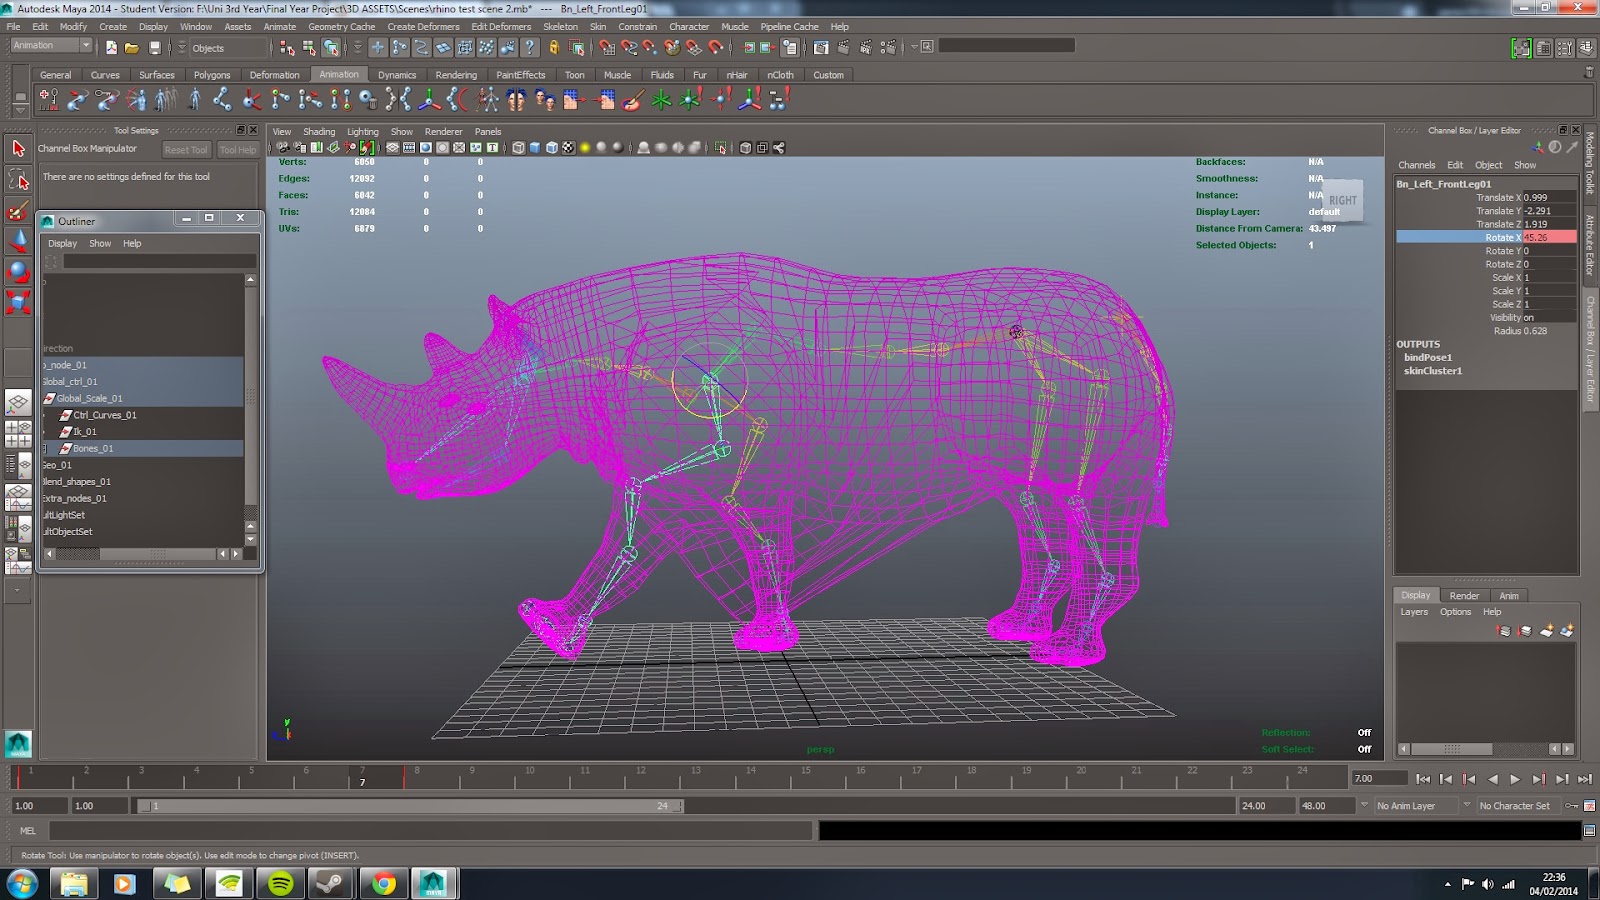
Currently the bane of my life painting weights is slow and steady work. Seen above are the weights painted on the legs of the Rhino. They are relatively smooth in the X axis but further work is still required before I make the controllers.
Tuesday, 4 February 2014
SKELETON COMPLETE
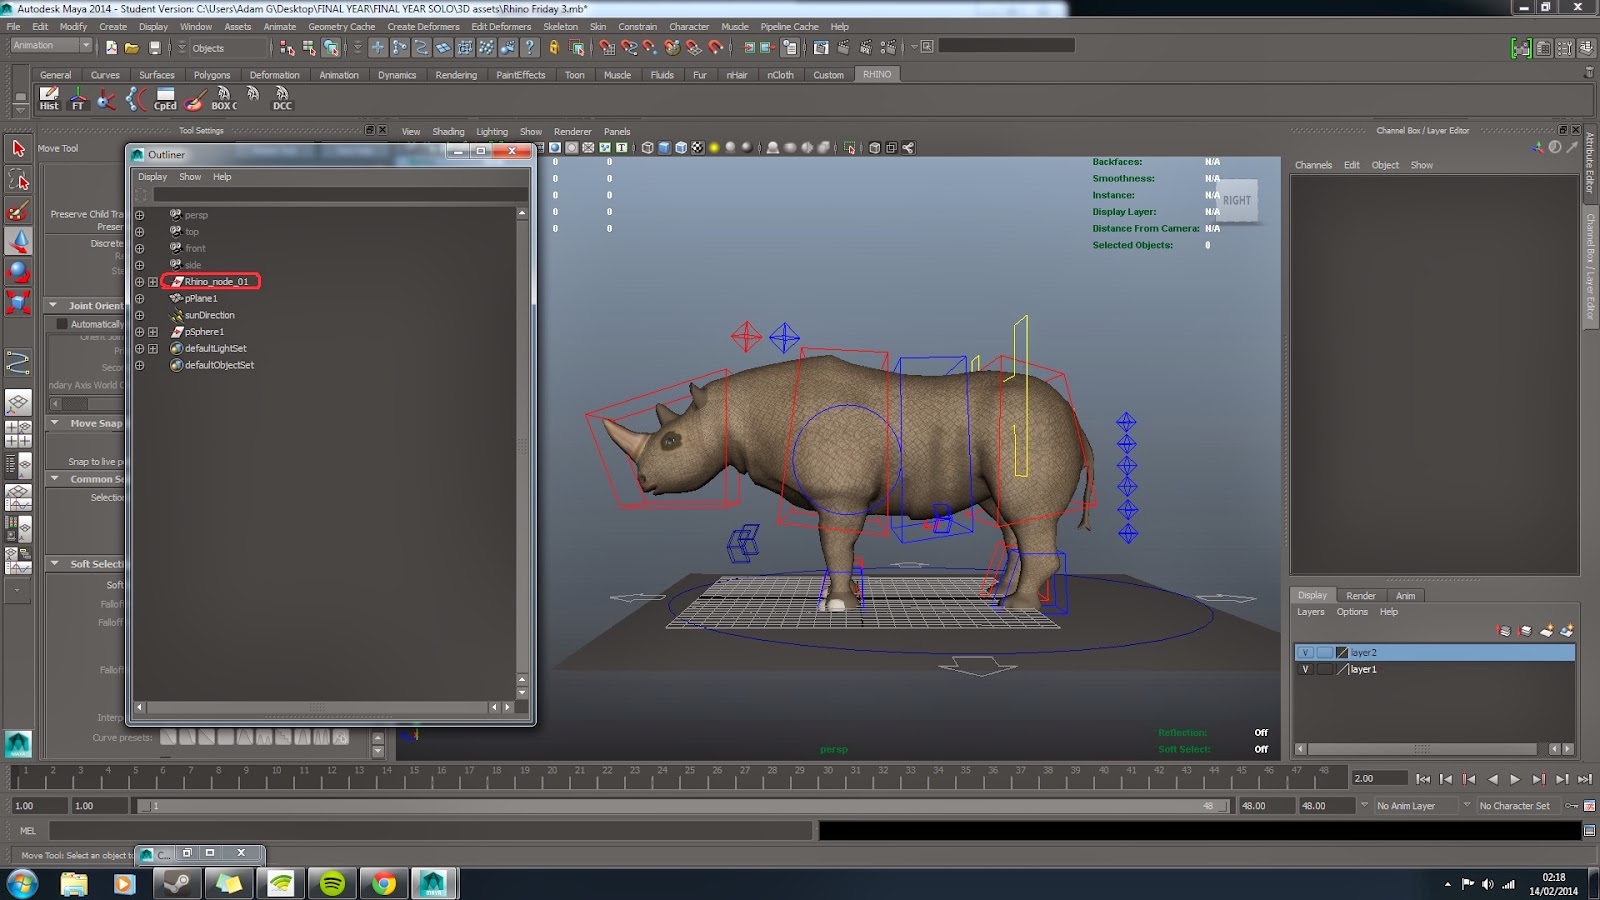
Having completed the skeleton hierarchy and suitable skin bind the next step is to paint the weights. Pictured here are some ugly deformities on the front legs as we move them. These will have to be fixed.
Monday, 3 February 2014
RIGGING BEGINS
I've allocated myself till the 14th February, round about 2 weeks, to get the rigging and skinning of my character done. Here I am plotting the joint structure of the back legs and then mirroring them.
Sunday, 2 February 2014
CAPTURING AUDIO
The audio in my piece will be a voiceover in the style of David Attenborough. A third party (AKA my friend with the golden voice) agreed to be the voice of my piece in describing facts about the rhino. I booked out the sound studio and was able to record sufficient audio which can be synced to my piece.
Saturday, 1 February 2014
IMPORTANCE OF A BUMP MAP
The above shot is a render of my rhino just with textures, looks ok but rather flat.
This render is with the bump map applied and brings out more of the Rhino hide that is far from smooth, I could also change the bump depth which would modify how deep the wrinkles and grooves would go.
SATURDAY RENDER
With the texture of the Rhino still ongoing i'm slightly concerned at how realistic he looks, perhaps when we apply the bump map at a later stage the cracks in the rhino hide may become more prominent. Here i've imported the untextured trees just to get a feel for the scene. More renders to follow!
Friday, 31 January 2014
TEXTURING
Having modelled all my assets it's now time to begin texturing. I will post up final texture maps and frequent test renders as I work.
Thursday, 30 January 2014
Wednesday, 29 January 2014
QUICK RENDER
A quick render of my WIP, this took nearly 2 minutes to render out all the grass. I will need to work on getting this down or consider using the render farm for my finished piece. Having said that the scene is beginning to come together!
Tuesday, 28 January 2014
UV'ING IS SO MUCH FUN
Retopology done now on to the Laying out of UV's! This is a careful process of splitting the model into sections that can be easily textures. It's a game of balance as where you put the seams is important. Typically you want the seams somewhere less visible but sometimes this is not always possible.
WORKING ON MY SCENE
Here I begin to put all my assets into one scene to began blocking out the terrain and background habitat in which the rhino will reside.
Friday, 24 January 2014
Wednesday, 22 January 2014
Wednesday, 8 January 2014
BAOBAB TREE
Alongside modelling the main Rhinoceros I have to model a small environment which carefully displays the Rhinoceros habitat. This baobab tree is native to the Rhino region and in this way I will sculpt and then model this tree.
Monday, 6 January 2014
RHINO CONTINUED
This is an example of how i'd like my Rhinoceros to end up once I finish sculpting ... however this is a Javan Rhinoceros and I'm modelling a Black Rhino.
Subscribe to:
Comments (Atom)


